Turn Your Raspberry Pi into Amazon Echo (Alexa) for $15
A historical Raspberry Pi Alexa/AVS project guide, with 2026 status notes, legacy setup details, and safer alternatives for current voice control.

By Abhi Bavishi
This guide demonstrates converting a Raspberry Pi into an Alexa-powered device. The setup is fairly straightforward and completable within an hour at minimal cost by repurposing existing peripherals.
Important 2026 Status Note
This is a historical DIY guide. The original steps use Raspberry Pi 3-era hardware, Raspbian Jessie, an older Alexa Voice Service sample application and legacy companion-service commands. Treat the article as an explanation of the earlier architecture, not a guaranteed current installation recipe. Verify account, SDK, wake-word, operating-system and security requirements against the current official documentation before buying hardware or entering credentials.
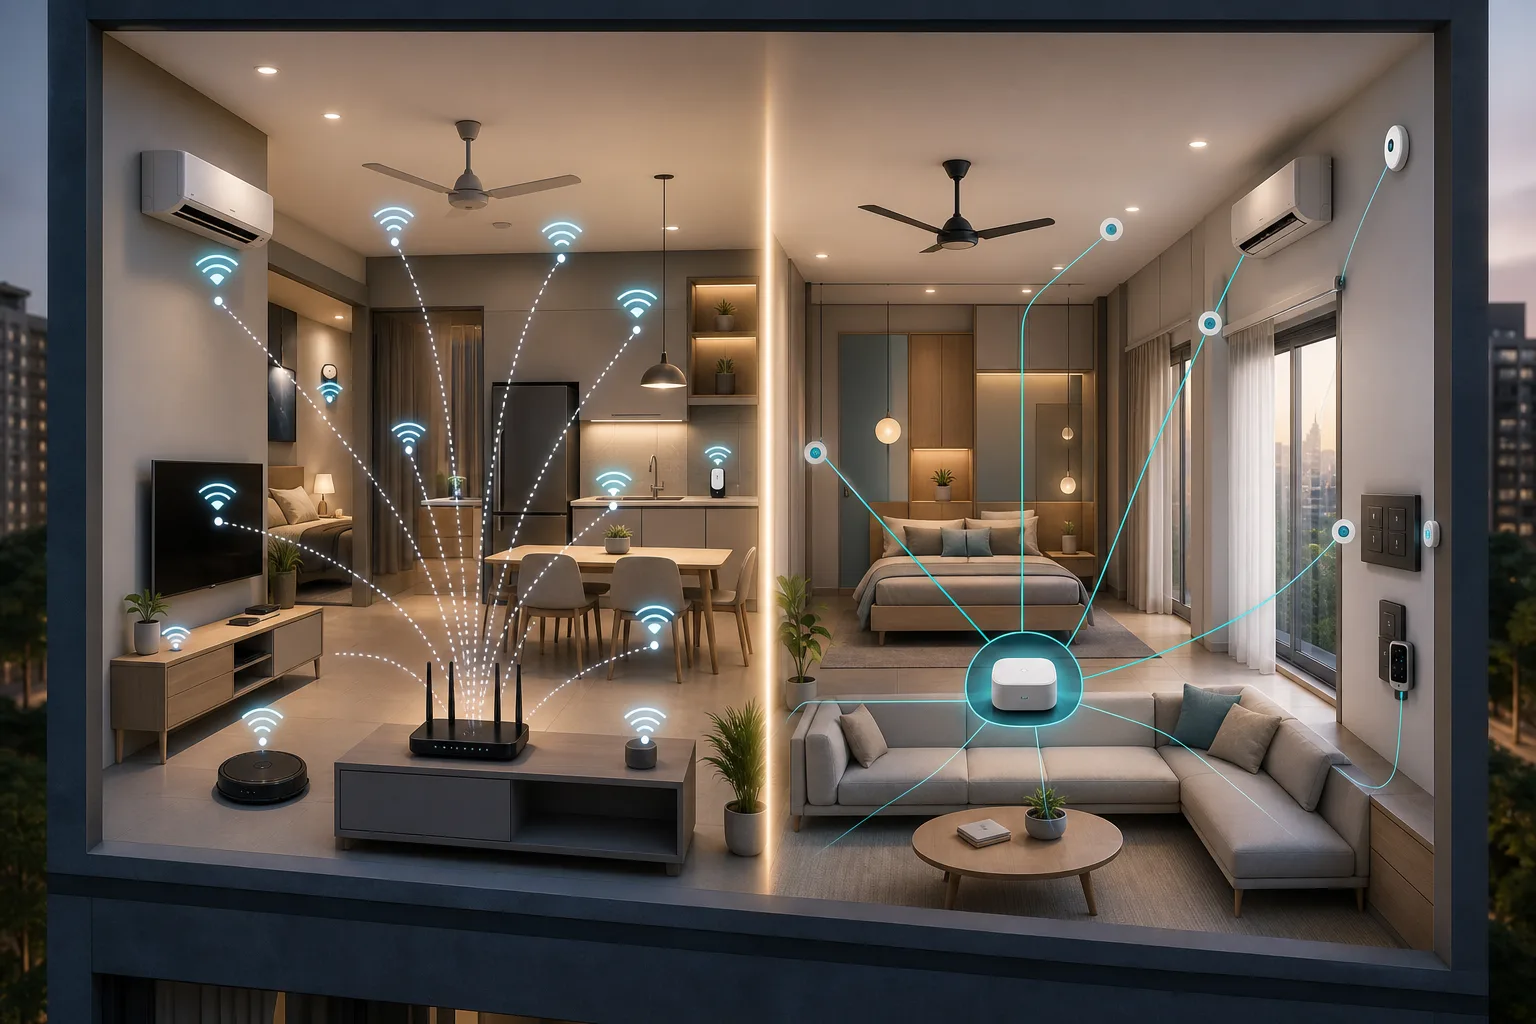
The same design lesson still matters: a voice assistant is only one interface. A dependable smart home should keep physical controls, local automation and a clear fallback when the internet or a third-party service is unavailable. For current alternatives, review today’s home-automation architectures and costs before starting a custom build.
Frequently Asked Questions
Can I follow this Raspberry Pi Alexa guide exactly today?
Not safely as a copy-and-paste promise. The hardware, operating system, sample repository, account-registration flow and wake-word dependencies are dated. Check the current official SDK and developer requirements first, and do not put long-lived credentials into an unmaintained script.
Will the project work without internet?
The original Alexa architecture depends on network access to the voice service. A local smart-home controller can provide a different offline path, but that is separate from this historical voice-assistant build.
Is a custom voice device the best way to start home automation?
Usually not. Start with a reliable physical control or sensor use case, then add voice control as an interface. That keeps lighting, security and other essential functions usable when the Pi, account or internet is unavailable.
Hardware Requirements
- Raspberry Pi 3 (or compatible earlier model)
- 8 GB SD Card with Raspbian (Jessie)
- Micro-USB power cable
- 3.5mm speaker (Bluetooth or wired)
- USB microphone or equivalent
- Keyboard, display, and mouse for setup
Estimated Cost: Under $59 total (Pi: $39, speaker: $8, camera/mic: $7)
Installation Steps
Step 1: Raspberry Pi Setup
Configure Raspberry Pi with Raspbian, connect peripherals, and configure audio. Adjust microphone levels using the alsamixer command and modify /usr/share/alsa/alsa.conf to set default audio devices.
Step 2: Amazon Developer Account
Register for an Amazon Developer account, navigate to Alexa Voice Service, register a device type, and obtain Client ID and Client Secret credentials. Configure Web Settings with allowed origins: https://localhost:3000
Step 3: Install Alexa
Clone Amazon's sample application repository, edit automated_install.sh with ProductID, ClientID, and ClientSecret, then execute the installation script (30-45 minutes).
Step 4: Run Companion Service
cd ~/Desktop/alexa-avs-sample-app/samples/companionService && npm startThis starts the gateway service listening on Port 3000.
Step 5: Authenticate Account
Launch the client application via mvn exec:exec, authenticate through browser, and obtain device tokens for server communication.
Step 6: Enable Wake Word Detection
cd ~/Desktop/alexa-avs-sample-app/samples/wakeWordAgent/src && ./wakeWordAgent -e sensoryTroubleshooting
Common issues include:
- Authentication errors: Incorrect credentials
- Build failures: Missing dependencies
- Timeout exceptions: Network issues
- Microphone problems: Configuration issues
Advanced Implementation
Create bash scripts for automatic startup and integrate iOS/Android companion applications for custom skill development. You can also add wake word detection using Sensory or other providers.