Home Automation Using Arduino - Beginner Guide
Build a low-voltage Arduino and Bluetooth relay demo safely, understand the limits, and learn when a professional smart-home system is the better choice.

By Abhi Bavishi

This tutorial demonstrates controlling household electrical appliances via smartphone using Arduino microcontroller technology. The complete setup costs under $30 and takes approximately 15 minutes to configure.
Required Components
- Arduino UNO (or compatible variant)
- HC-05 Bluetooth wireless module
- 5V relay module
- Jumper wires and breadboard
- 1k and 2.2k ohm resistors
- Lamp or electrical load
- Android device with Bluetooth capability
Hardware Setup Instructions
Bluetooth Module Connection
The HC-05 module connects to Arduino's serial pins for two-way communication. A voltage divider using 1k and 2.2k resistors converts the 5V Arduino signal to 3.3V, protecting the Bluetooth module's receiver pins.
Relay Circuit Configuration
The relay acts as an electronic switch connecting the load to power. Three terminal types exist:
- COM (Common): Power supply connection point
- NO (Normally Open): Used to control when load receives power
- NC (Normally Closed): Remains connected when relay is unpowered
Arduino Code
#define RELAY_ON 0
#define RELAY_OFF 1
#define RELAY_1 4

char data = 0;

void setup() {
  pinMode(RELAY_1, OUTPUT);
  digitalWrite(RELAY_1, RELAY_OFF);
  Serial.begin(9600);
  Serial.print("Type: 1 to turn on the bulb. 0 to turn it off!");
}

void loop() {
  if (Serial.available() > 0) {
    data = Serial.read();
    Serial.print(data);
    Serial.print("\n");
    if(data == '1'){
      digitalWrite(RELAY_1, RELAY_ON);
      Serial.println("Bulb is now turned ON.");
    }
    else if(data == '0'){
      digitalWrite(RELAY_1, RELAY_OFF);
      Serial.println("Bulb is now turned OFF.");
    }
  }
}
Mobile Control Setup
Install the Arduino Bluetooth Controller app (Android) and configure:
- Device pairing with HC-05
- Switch mode selection
- Command values: '1' for ON, '0' for OFF
Safety and Limitations of This DIY Circuit
Safety note: This is an educational low-voltage electronics demonstration. Do not connect mains electricity, a household appliance or an exposed relay board unless a qualified electrician has designed, enclosed and tested the circuit. A phone-controlled relay is not the same as a certified smart-home product.
The HC-05 and Arduino approach is useful for learning serial communication, but it is not a complete home-automation platform. It has short Bluetooth range, depends on one local controller, lacks a modern device-management layer and does not provide the backup, isolation, firmware support or multi-user access expected in a finished home.
If the goal is a reliable installation rather than an electronics experiment, compare the current cost of professional home automation and start with a documented low-voltage product that has a proper enclosure, warranty and support path.
Frequently Asked Questions
Can this Arduino circuit safely switch a household appliance?
Only after a qualified electrician designs the mains side with suitable isolation, enclosure, fusing, earthing and load ratings. The tutorial should be treated as a low-voltage learning project, not a ready-to-install appliance controller.
Does the HC-05 need Wi-Fi?
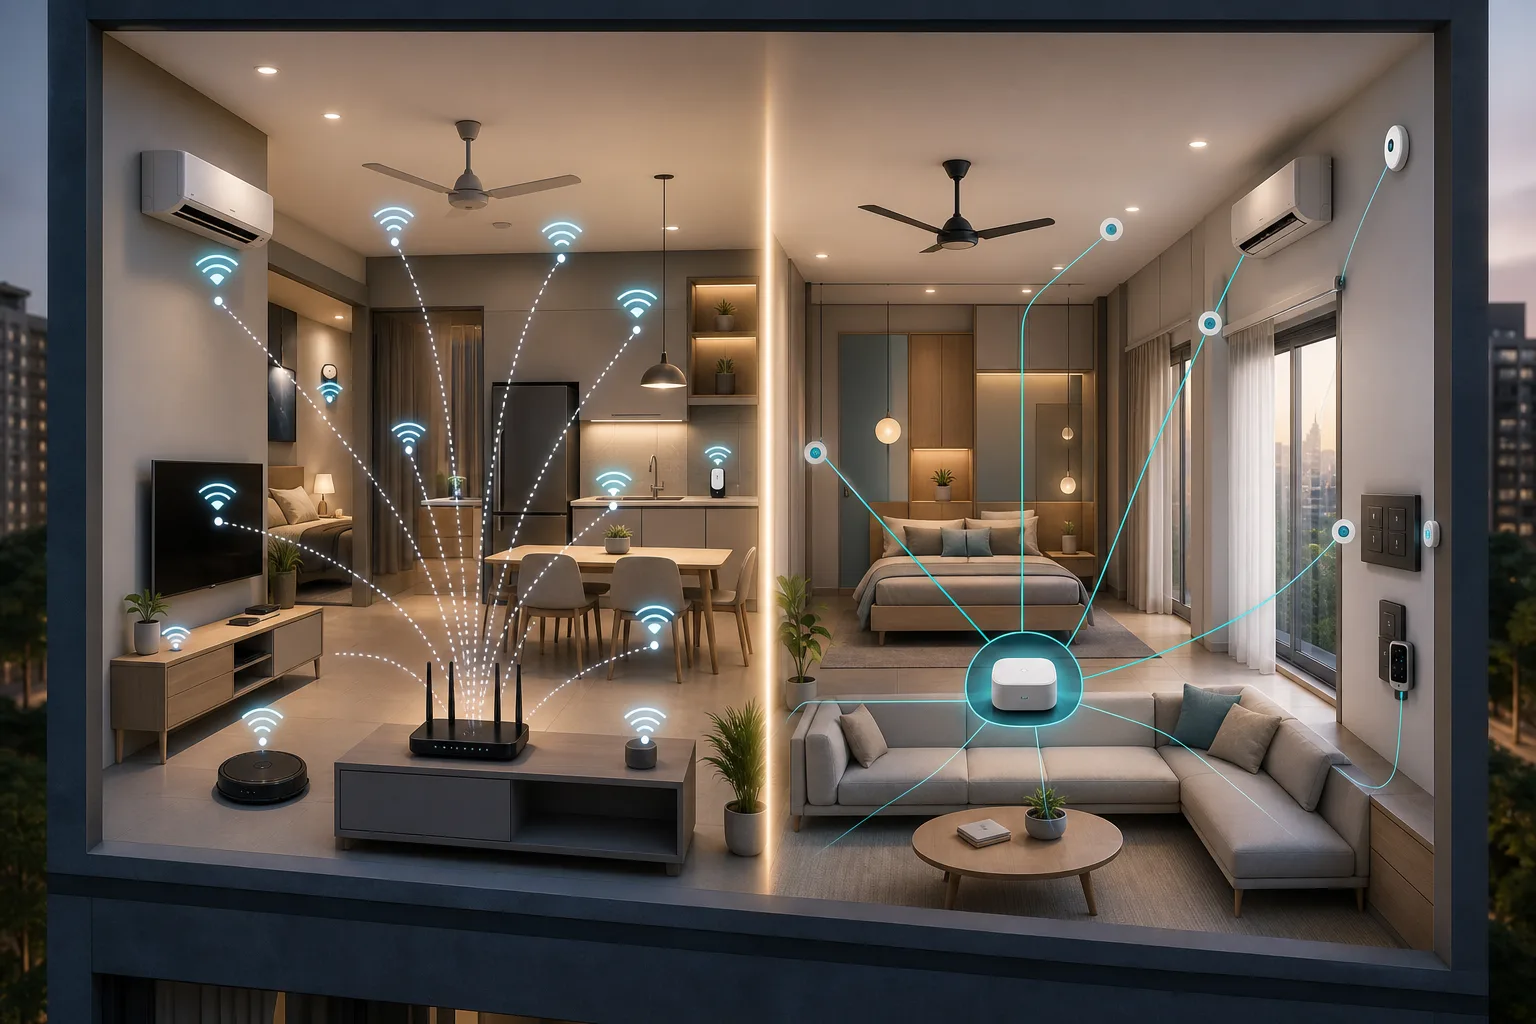
No. HC-05 uses Bluetooth serial communication, so it does not need Wi-Fi or internet. Its short range and one-controller design also limit it compared with a supported Zigbee, Thread, Matter or Wi-Fi system.
What is the safer next step?
Use this project to learn the concepts, then choose a certified relay or switch installed by a professional for a real home. Keep physical control, overload protection and a documented recovery path for essential loads.
Future Enhancement Possibilities
The framework supports expanded automation including scheduling, brightness control, fan speed adjustment, security integration, door locks, and scene triggering from centralized controllers.