


Smoke detectors have proven to be extremely useful in industrial applications and also in various other kind of home applications too. In case of any mishaps and accidents, the smoke detectors inform the intended person quickly so that they can soon take the necessary repair action and prevent from any further damage to occur.
The D3D smoke sensors offer similar functionality and inform users via “Alarm” action and even through calls/SMS.
Lets us take a look at how to configure D3D smoke sensor.
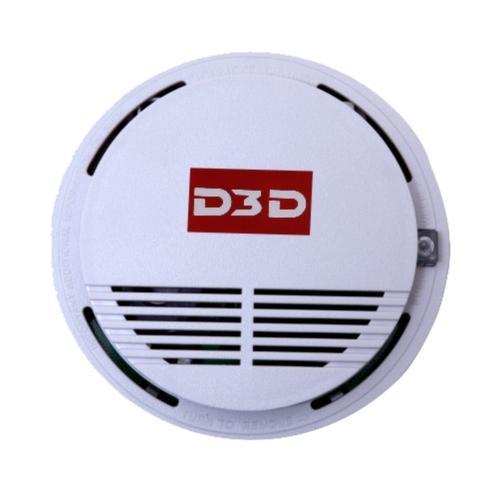
Step 1: The D3D smoke sensor comes in a plastic enclosure with a battery compartment to its back and a small window section to the front to let the smoke reach the sensor circuitry inside.
The front section also consist of a PUSH TEST button. Insert the battery to its back and ensure proper electrical connection. As a part of confirmation, push and hole the PUSH TEST button to its front, and the two beep sounds with LED blinking ensure that the sensor is working fine.
Step 2: Turn on the main control unit. In the Menu section go to Setup–>Edit Zones–>Edit RF Detector. In the Edit RF section, you can configure various kind of security sensor that come along with the D3D system. The first option of Delete All is common in case you want to delete all the configured sensors in your system.
The D3D D9 security system allows you to configure up to 99 different sensors.
Step 3: Go to the Empty option and press Enter key. Here, you will provided with two options of Add and Delete. Click on Add.
Since you have entered the Empty option, it means that there is no device configured on that option at that moment. In case, for any option the device is configured, you will see the Used status in place of Empty.
Step 4: Once you click on Add option, the display on the main control unit will ask you to Turn On Device. Here “Device” means your sensor unit you want to configure. This can be a remote, smoke sensor, motion sensor, door/windows sensor etc.
Here by Turn on Device, it means trigger the sensor action. Once this message appears, press an hold the PUSH BUTTON key until you see an RF Code being displayed on the main control unit.
Once the code appears on the display screen of the main control unit, press Enter key. Repeat the same action for second time confirmation and press Enter key again.
Step 5: Here you will be asked to select the Zone Type for the sensor as per your utility. 24 Hours Sound is the most preferred choice for smoke sensors. [Read: Zone Type explanations for the D3D security system]
Step 6: After selection of your Zone Type, you will get an Operation OK message on the unit. Now the Empty status of the Zone location where you have configured this sensor will turn to be showing as Used.